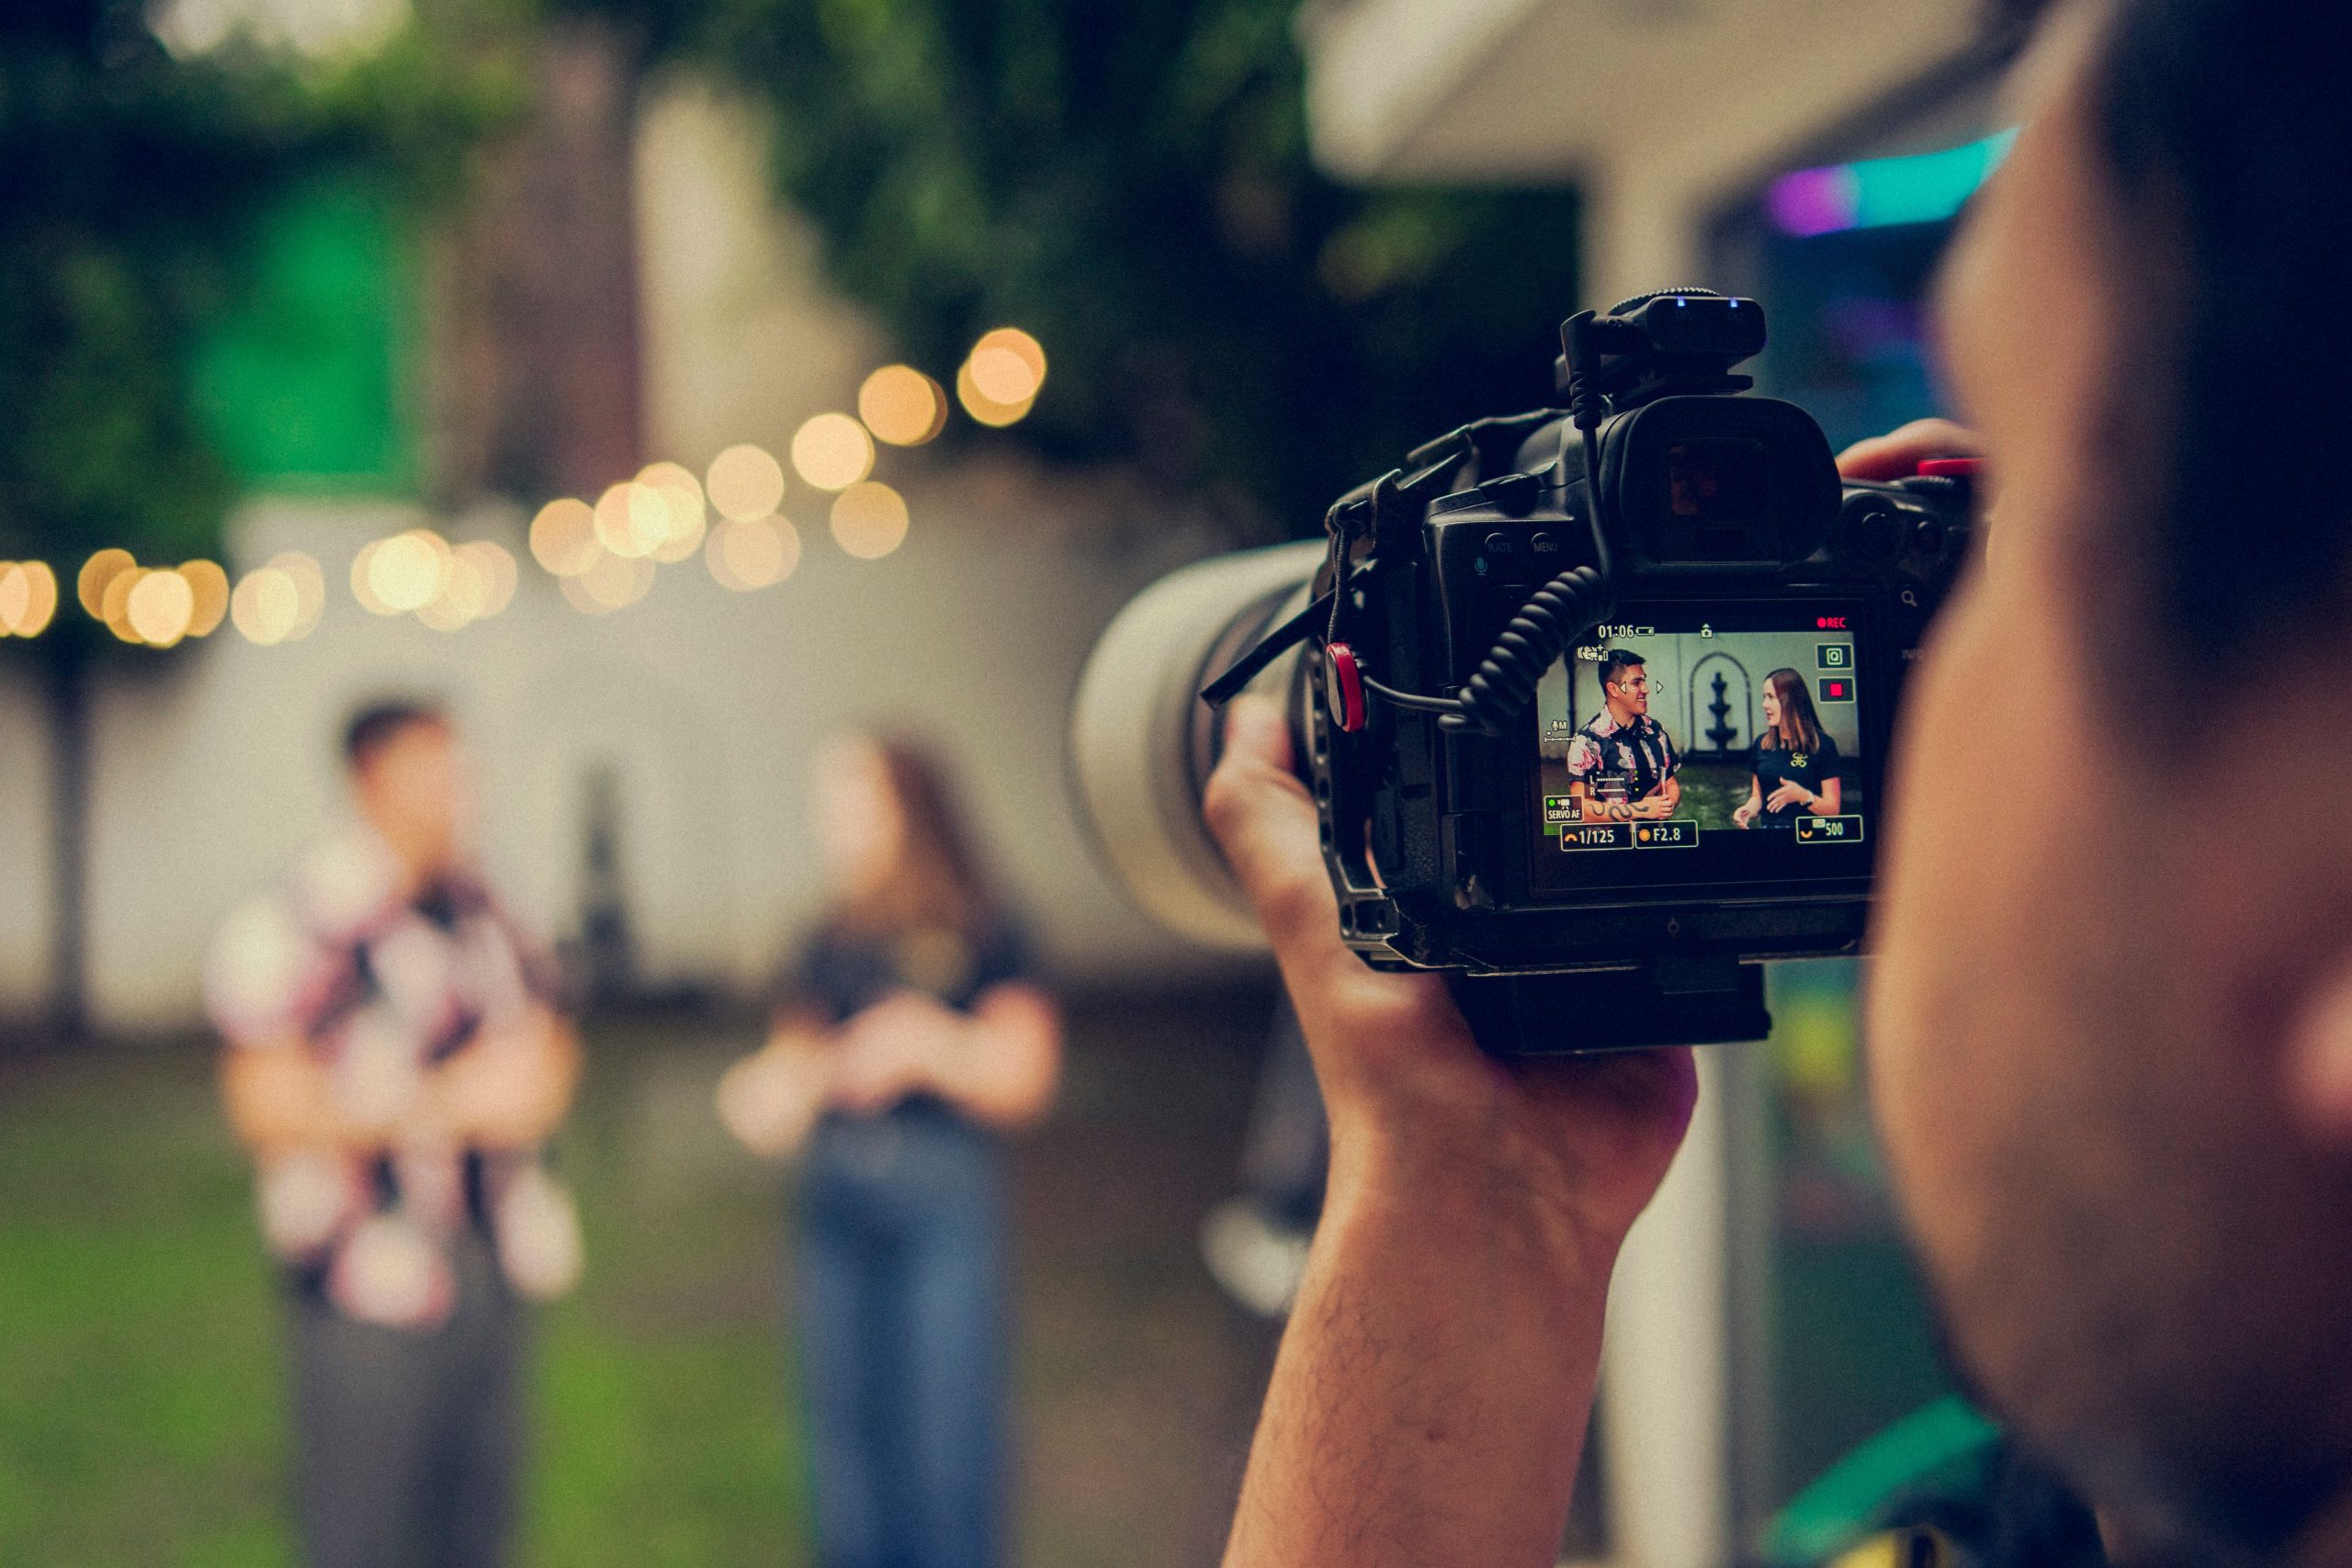
A beautiful outdoor video set is not created by adding as many plants, cushions, and decorative objects as possible. It works because the camera sees a controlled slice of the space: a background with depth, light that flatters the subject, and enough practical room for people and equipment to move without disturbing the shot.
That is why the best starting point is usually the architecture already around the garden or patio. A wall, screen, fence, or section of cladding can give the frame a clean visual anchor, while planting and furniture add softness in front of it. The aim is not to make the entire garden look like a showroom. It is to build one reliable camera position and at least one alternative angle.


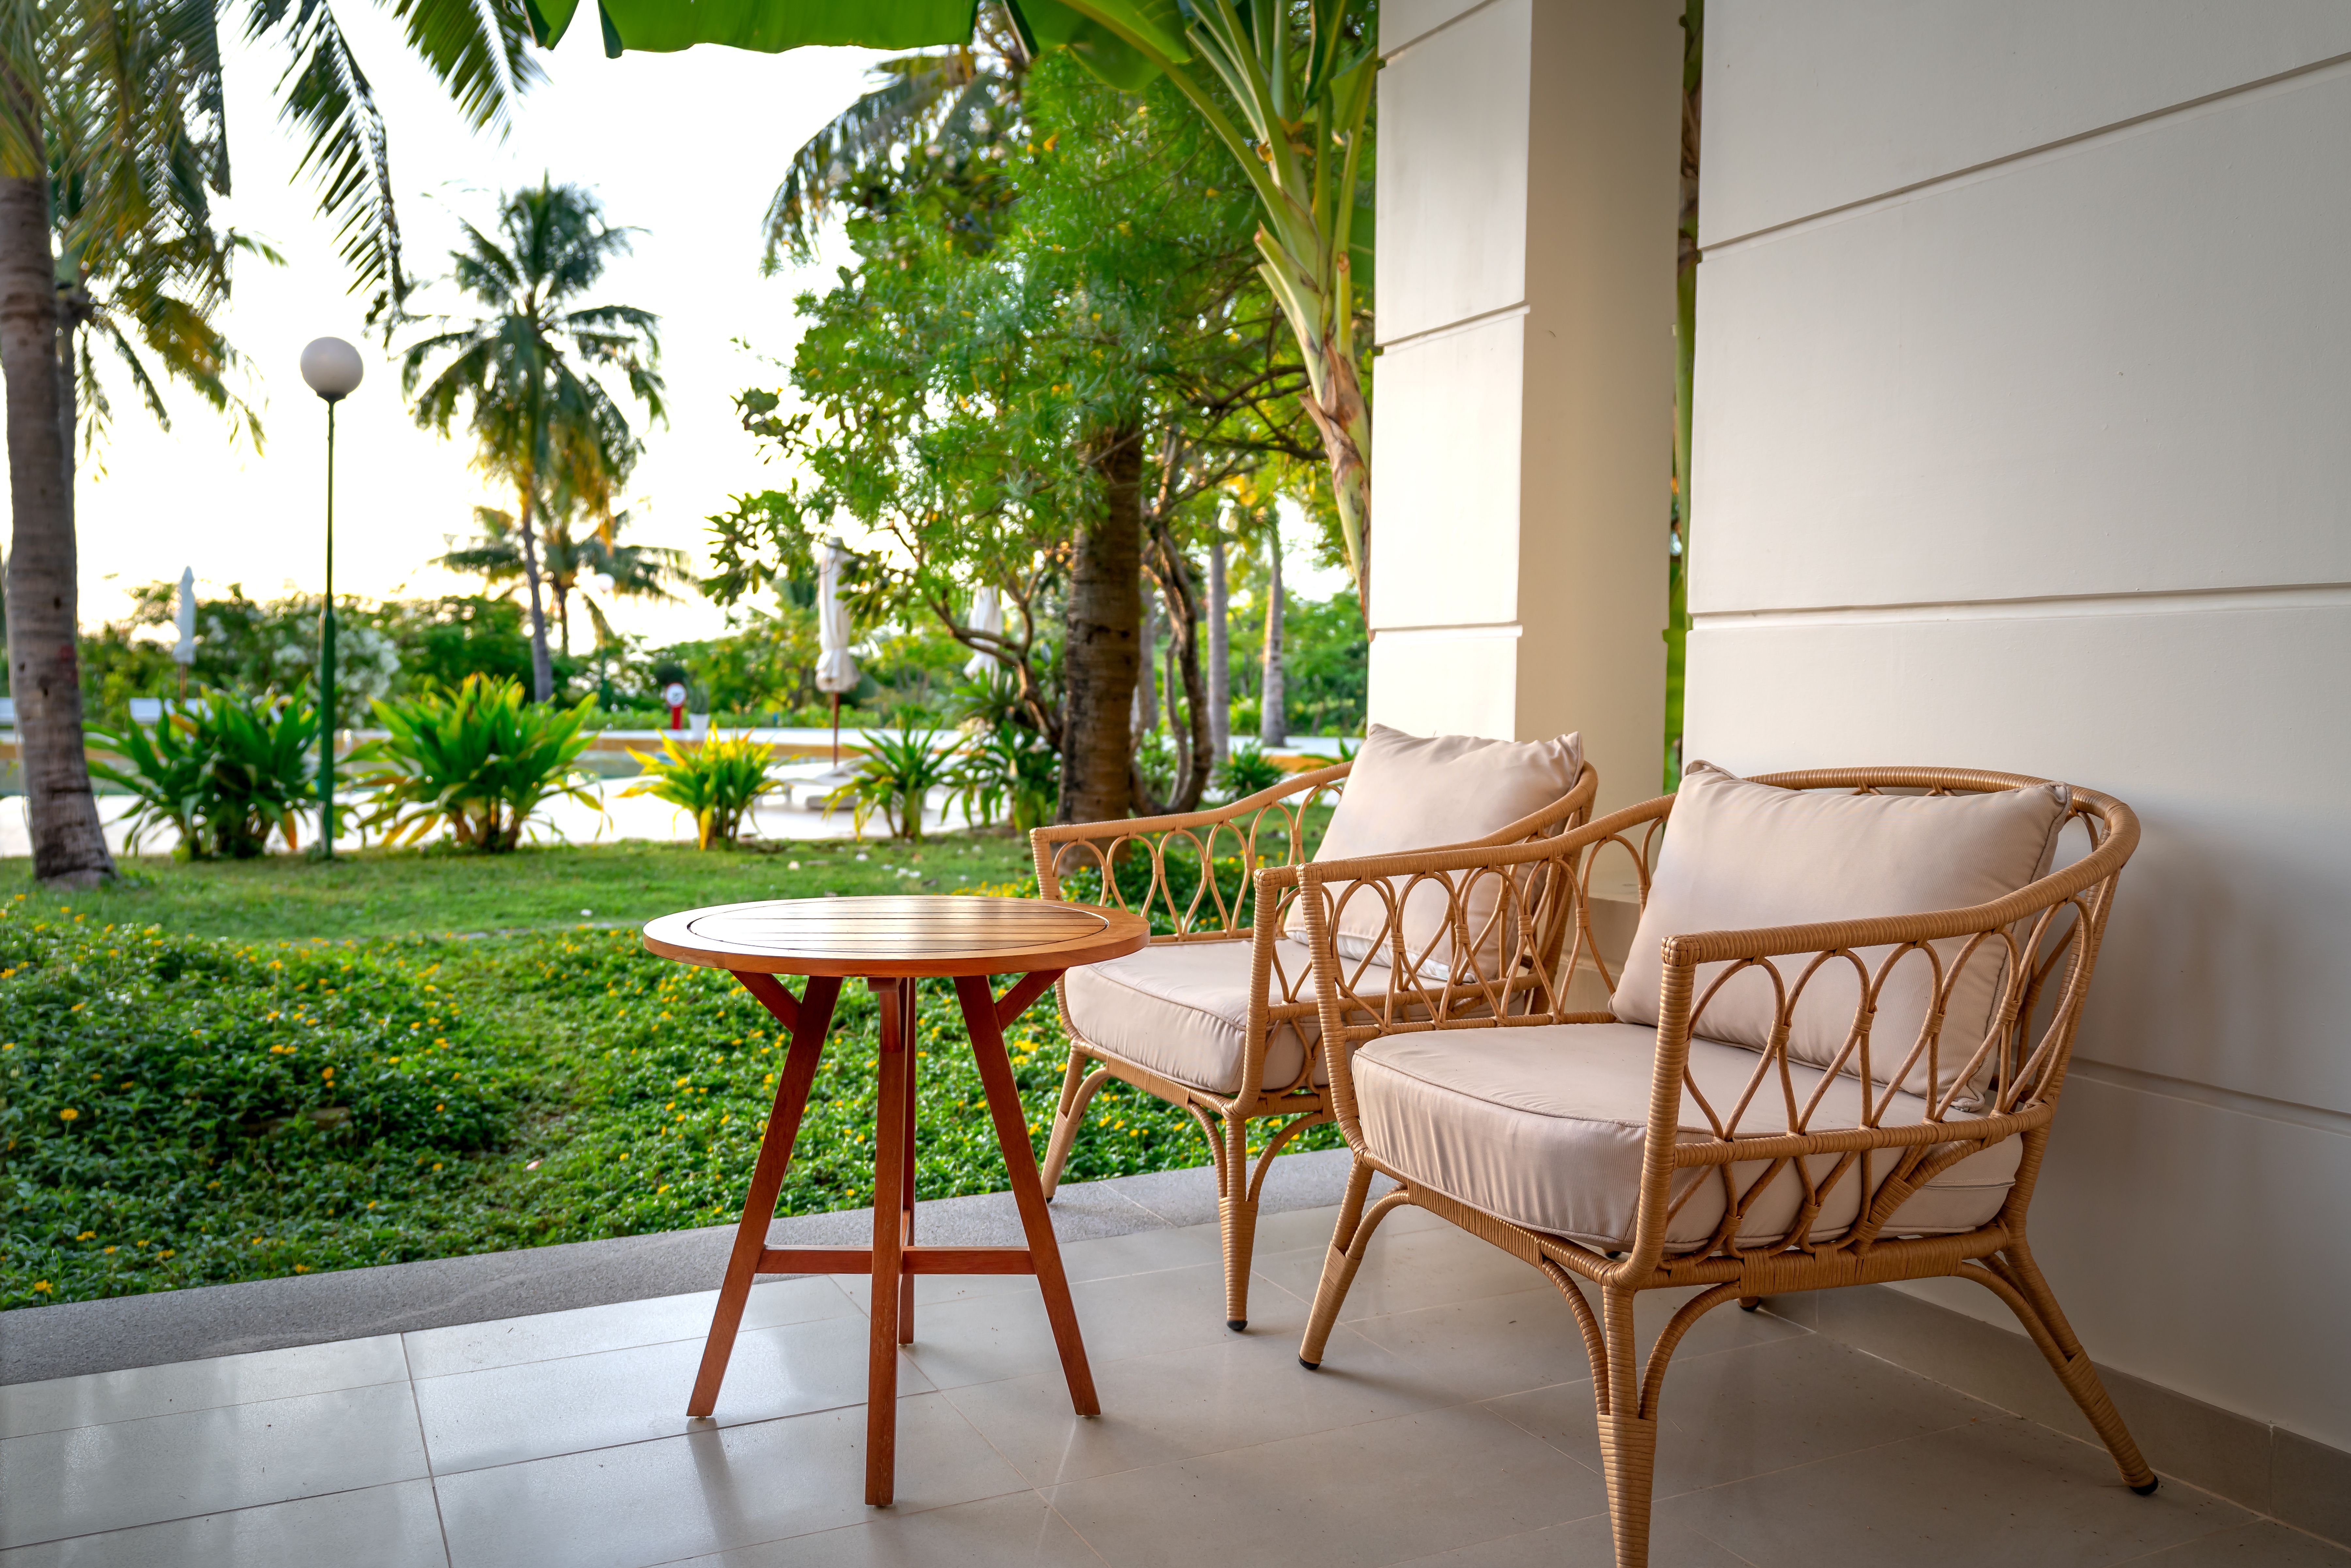
Table of Contents
- Start with the frame, not the furniture
- Treat daylight as a moving production tool
- Build depth with materials and planting
- Design for sound, movement, and resets
- Make the set friendly to equipment
- A practical shoot-day checklist
- Frequently Asked Questions
Start with the frame, not the furniture
Before buying anything, place the camera where the finished video will actually be recorded. Look at the monitor, not just the garden. A space that feels spacious in person may become a flat wall of green when compressed into a medium shot. Conversely, a modest patio can look layered and expensive if the foreground, subject area, and background are separated.
Mark three zones with temporary tape or cones:
- Camera zone: tripod, operator, monitor, and the clear path behind them.
- Performance zone: the area where the presenter, interview subject, or product will sit or move.
- Background zone: the visible layer of architecture, furniture, planting, and practical lights.
Leave more space behind the subject than you initially think you need. That separation lets the background fall slightly softer, prevents the person from looking pinned against a wall, and gives you room to change the composition without rebuilding the set. It also makes a second shot easier: a close-up, a profile, or an over-the-shoulder angle can often be found by moving the camera rather than the entire scene.
Treat daylight as a moving production tool
Outdoor light changes while you work. A patio that is perfect at 9 a.m. may have hard sun across the subject by lunchtime, while a shaded corner can become too dark once a nearby wall stops reflecting light. Plan the set around the light you will have during the actual recording window, not the conditions you happened to see during a site visit.
Adobe’s guidance for basic video lighting recommends indirect daylight, reflectors, scrims, and flags when natural light becomes too harsh or inconsistent. Its practical advice on golden-hour shooting is useful, but golden hour is not automatically the best choice: it may provide beautiful light while giving you a narrow window and long shadows that change quickly. For dialogue or instructional content, a bright open shade can be easier to match across multiple takes.
| Available light | What to do on set | Best use |
|---|---|---|
| Direct midday sun | Move the subject into open shade or use a large scrim; add white bounce from the shadow side. | Short pieces, high-energy content, or controlled product detail. |
| Open shade | Keep the background brighter than the subject without allowing bright sky into the exposure. | Interviews, tutorials, and longer recording sessions. |
| Low sun near sunrise or sunset | Backlight the subject, then lift the face with white bounce or a soft LED. | Portraits, lifestyle scenes, and cinematic establishing shots. |
| Broken cloud | Watch for exposure shifts; keep a diffuser or a repeatable artificial source ready. | Flexible coverage when the weather is changing. |
The important detail is consistency. A reflector does not create light; it redirects light that is already present. Keep its angle, distance, and height marked if you expect multiple takes. If clouds are passing quickly, record a few seconds of room tone and a visual reference after each major lighting change so the edit has useful continuity clues.
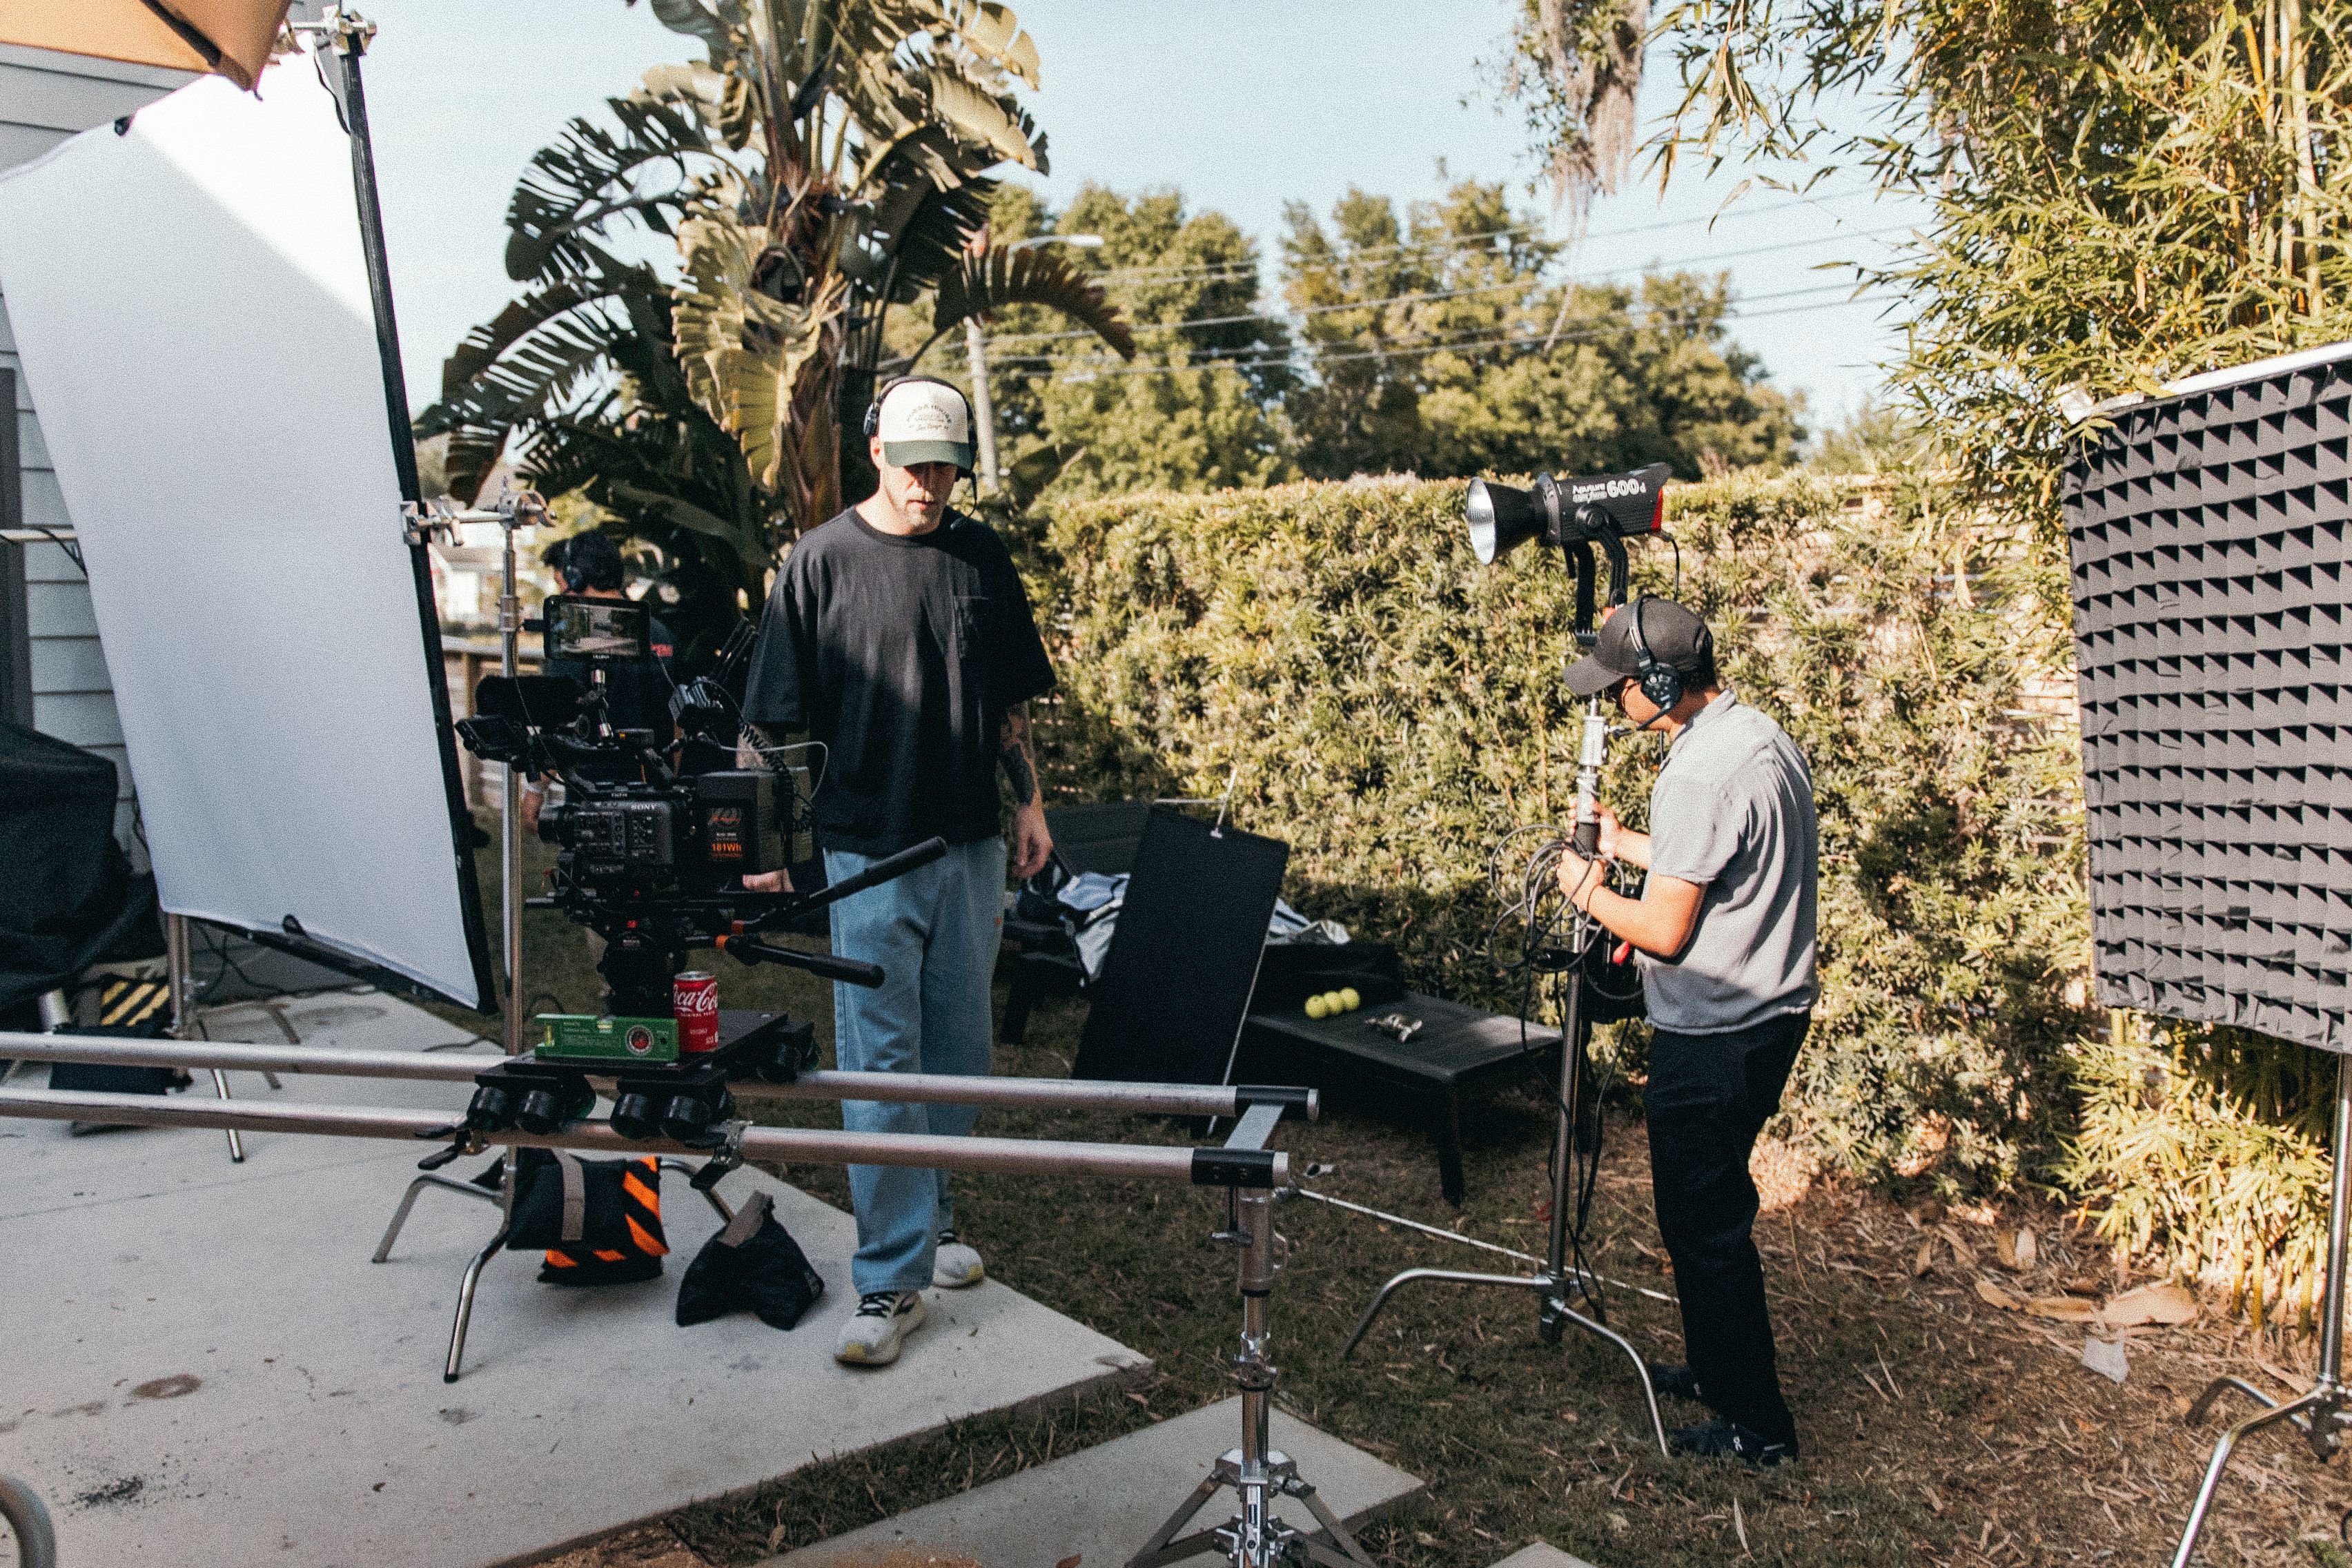
Do not forget the background exposure. A subject can be perfectly lit while the foliage behind them turns into a bright, distracting patchwork. Walk through the frame and remove the most reflective or high-contrast elements first. You rarely need to redesign the whole garden; moving one pale chair, bright planter, or shiny table can calm the image.
Build depth with materials and planting
A convincing outdoor frame usually has three visual distances: something close to the lens, the subject in the middle, and a background that recedes. This does not require a large garden. A foreground leaf, chair edge, or architectural post can create the first layer. The subject occupies the second. A textured wall, planting bed, or distant screen supplies the third.
Use materials for their behavior on camera, not only their appearance in a catalogue:
- Timber and matte painted surfaces tend to provide texture without throwing sharp highlights into the lens.
- Stone and concrete can add weight and visual stability, but may bounce sound and sunlight more than expected.
- Metal and glass create useful accents only when you can predict their reflections; otherwise they become moving hotspots.
- Textiles soften a patio visually and can also hide stands, cable runs, or spare equipment outside the main frame.
Plants should support the composition rather than compete with the speaker. Avoid placing a thin branch directly behind a person’s head, and check for wind movement in leaves that will sit close to the subject. Repeated motion in the background can be more distracting than an untidy but static wall. For a branded or educational set, choose a restrained palette and repeat one or two materials instead of introducing a new colour in every corner.
Design for sound, movement, and resets
Viewers will forgive a simple background sooner than they will forgive wind noise, traffic, or a microphone rubbing against clothing. Visit the proposed set at the time you plan to film and listen for the sounds that do not appear in a still photograph: air-conditioning units, pool pumps, deliveries, dogs, playgrounds, and wind funneling between walls.
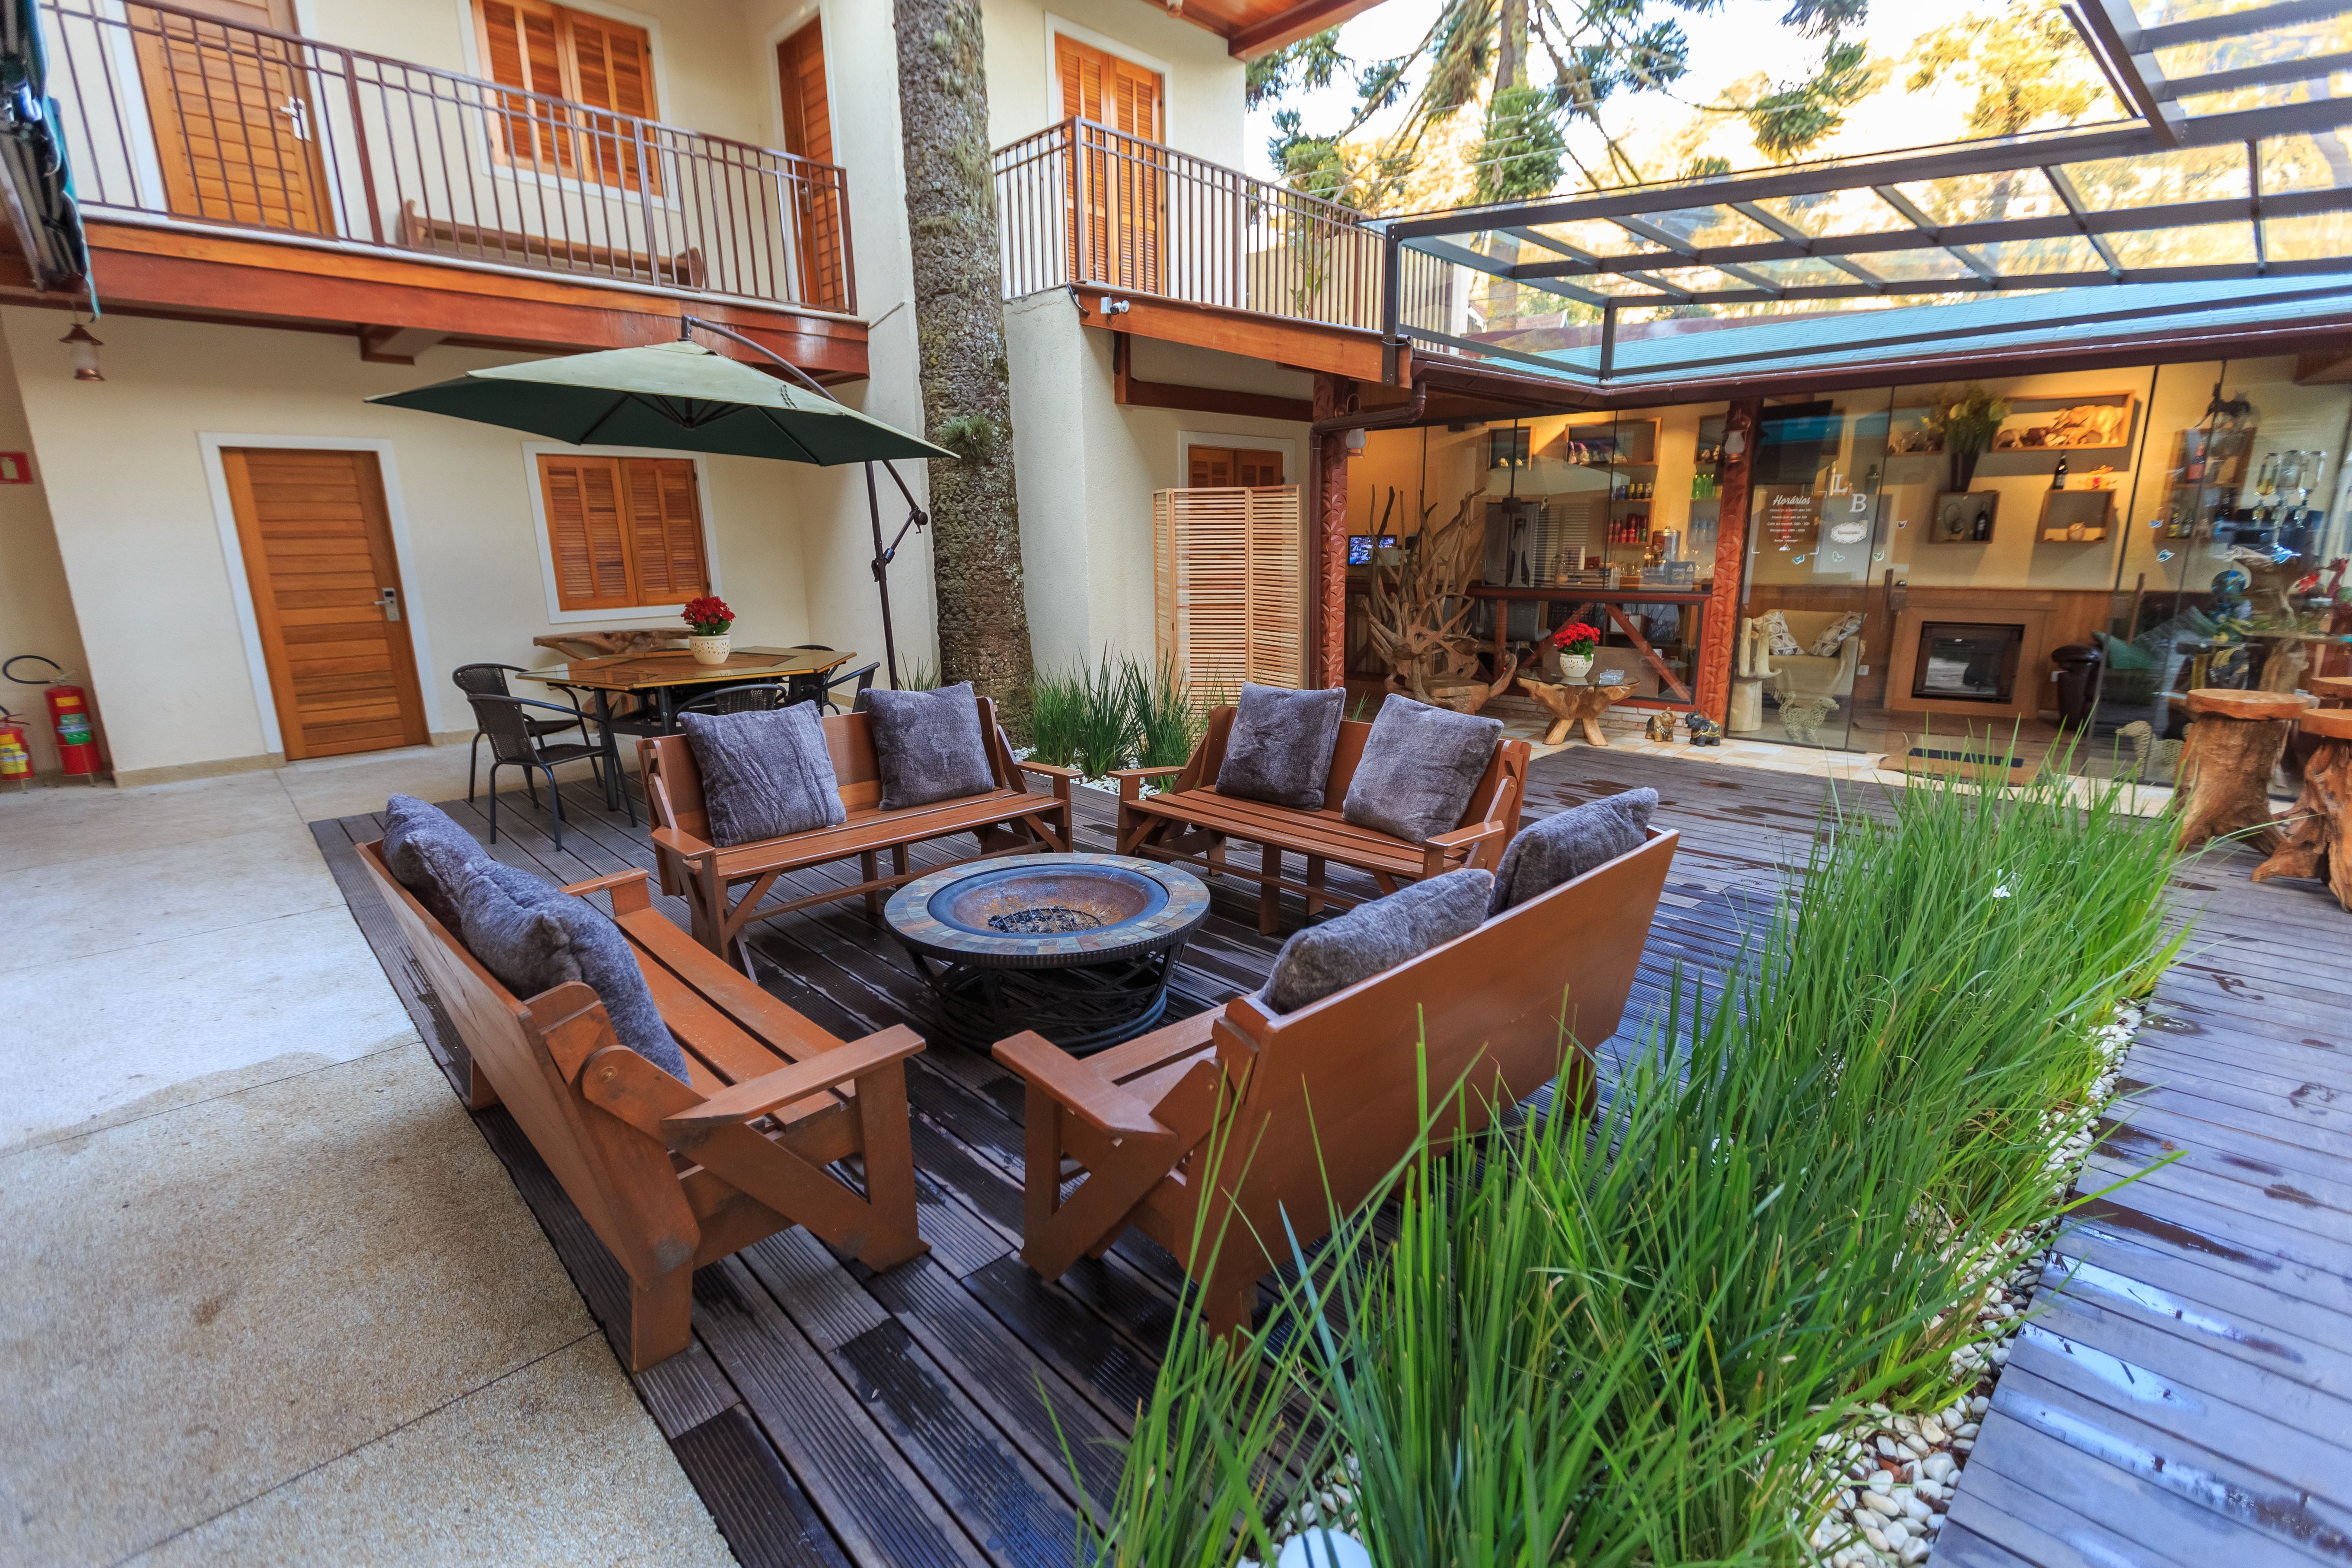
Soft surfaces help. A rug under furniture, cushions on hard seating, and fabric placed outside the camera frame can reduce some reflections. They will not make a noisy location silent, so treat them as small improvements rather than a substitute for choosing a better recording position. A directional microphone placed close to the subject is usually more valuable than an attractive but distant microphone hidden somewhere in the garden.
Plan movement before you decorate. If the presenter will stand, sit, or walk, draw the path and test it with the camera rolling. Check that:
- Feet will not cross a cable run or tripod leg.
- Chairs can be moved without scraping loudly.
- Doors, gates, and paths remain usable for the crew.
- The subject will not drift from the intended focus or light.
- A crew member can reach the camera and audio recorder without entering the shot.
I would choose a slightly less photogenic corner with dependable sound over a spectacular view beside a busy road. A clean edit cannot remove every change in ambience, and repeated takes become expensive when the location controls the schedule.
Make the set friendly to equipment
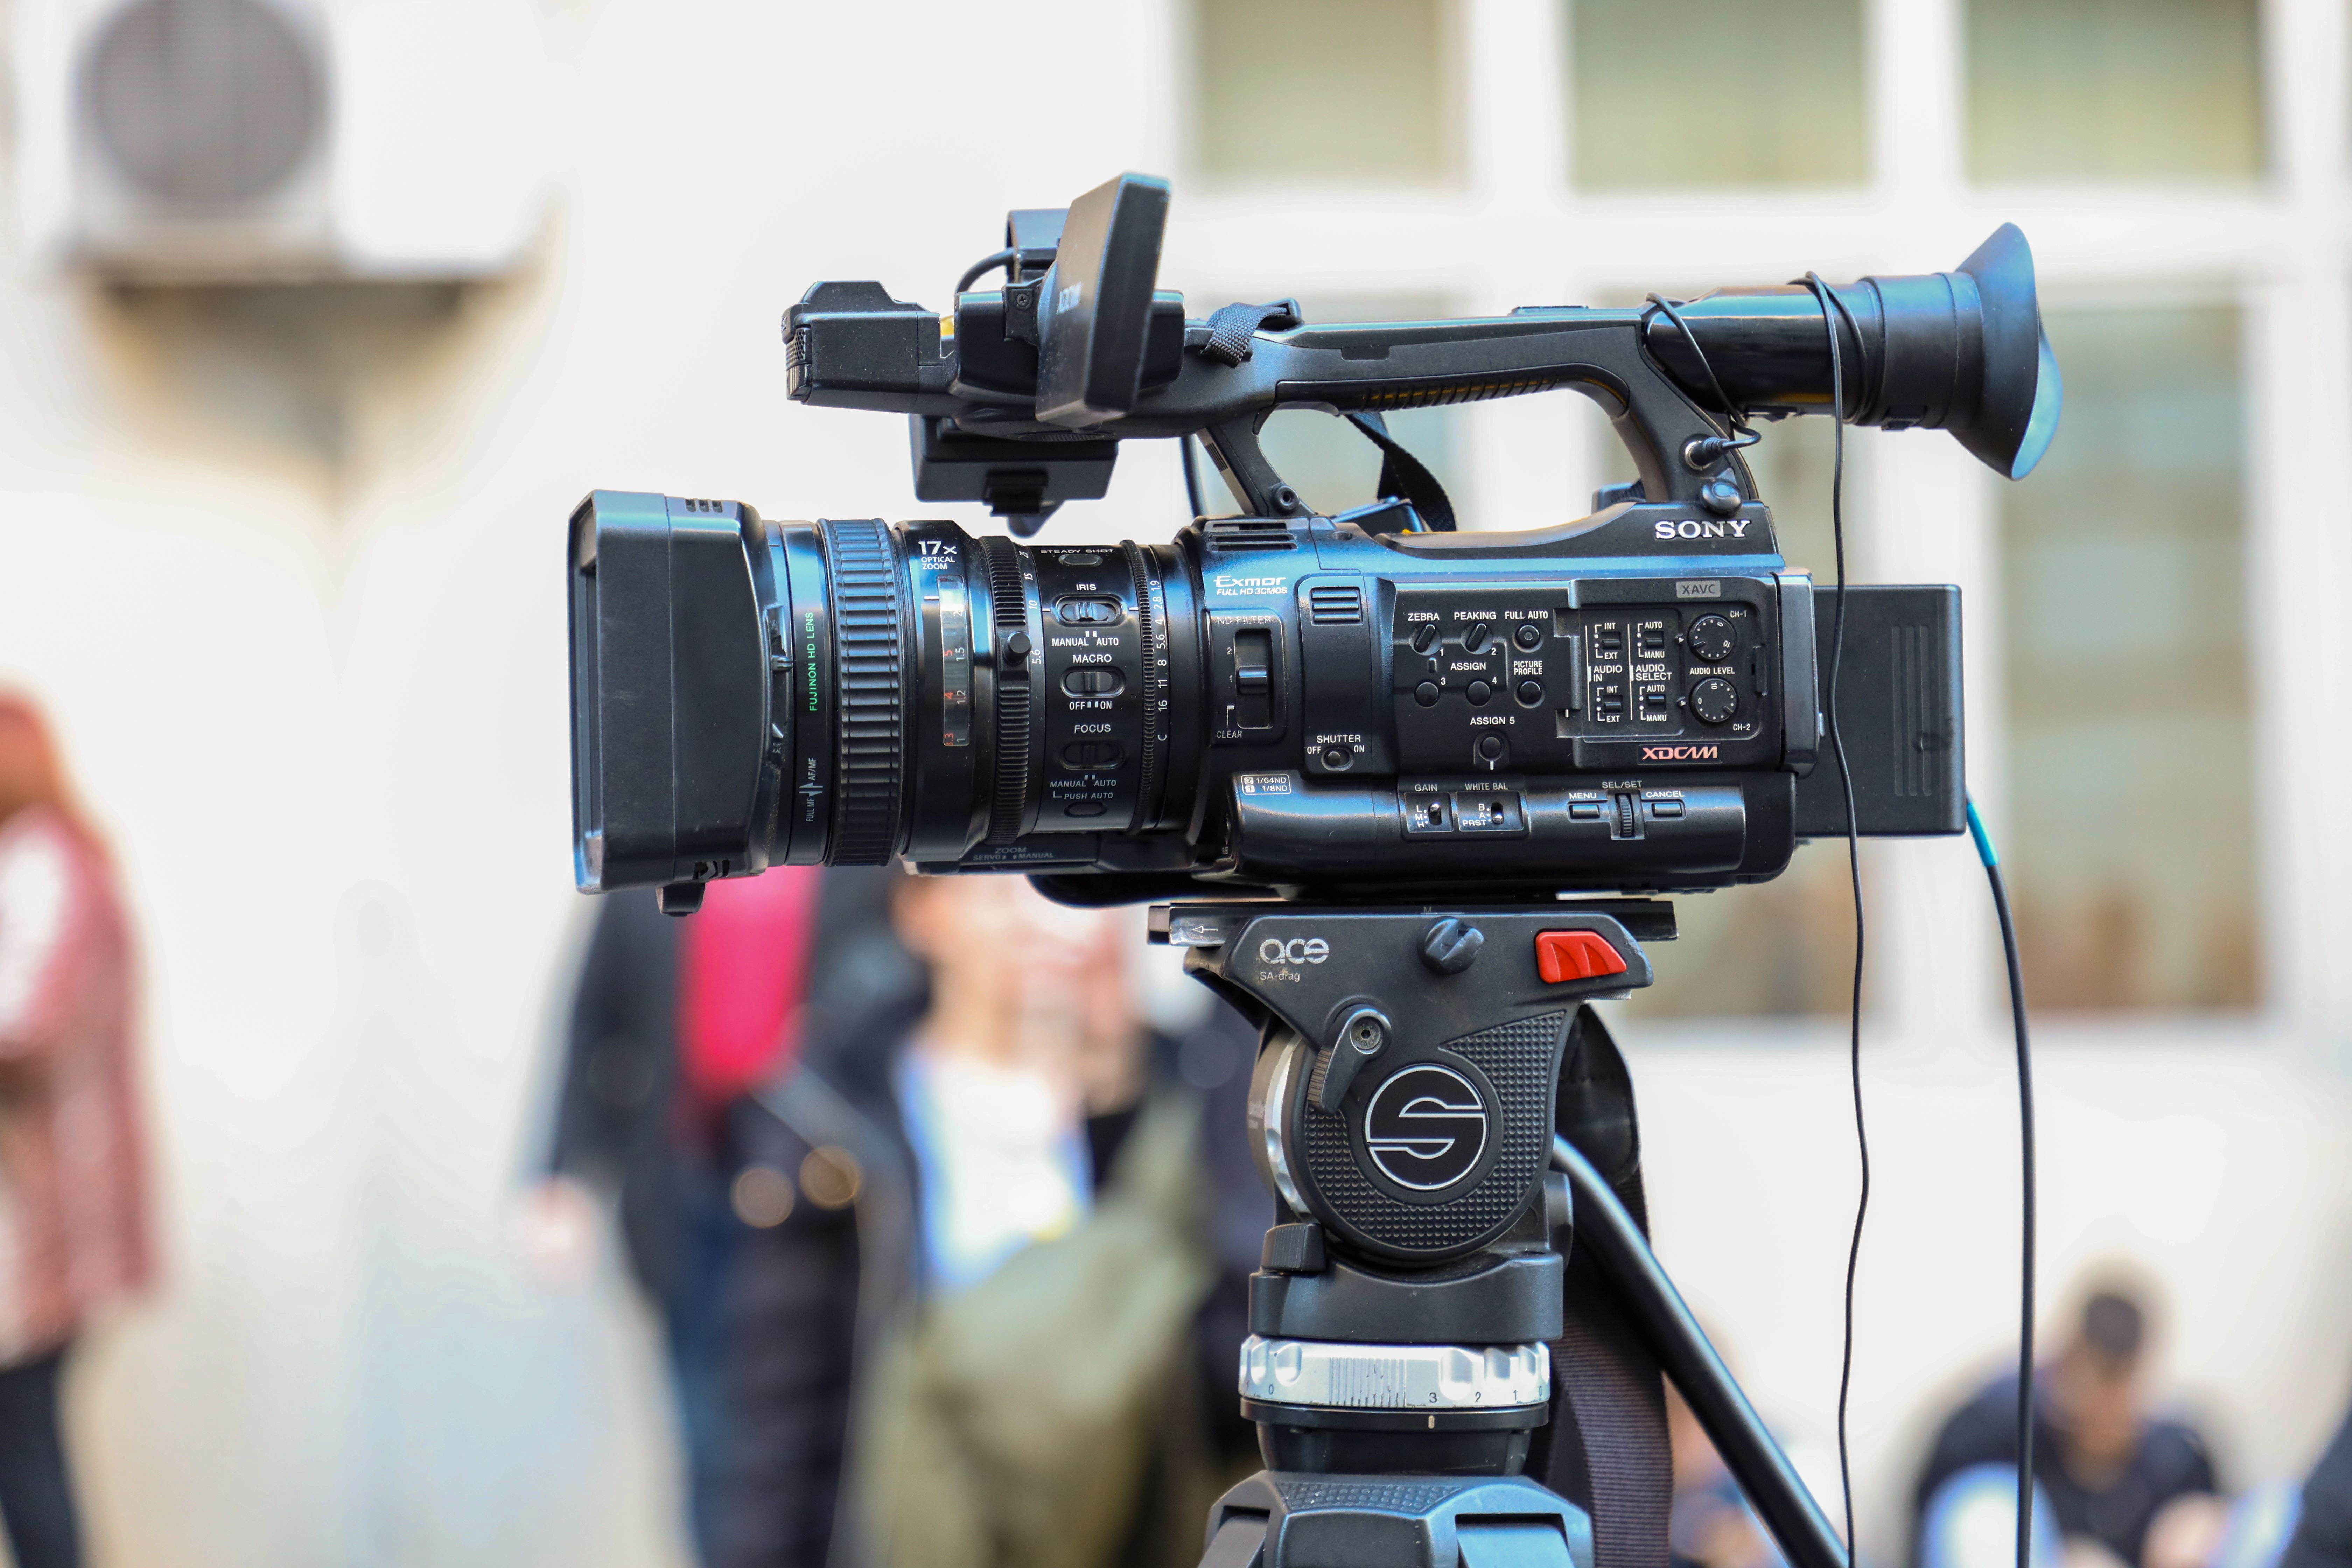
Outdoor beauty should never come at the cost of a precarious setup. Tripods need firm, level ground. Light stands need enough clearance that a passer-by, pet, or gust cannot easily knock them over. If the ground is soft, use stable support under the feet and verify that the camera remains level after the operator moves around.
Power deserves its own check. The U.S. Occupational Safety and Health Administration advises using suitable three-wire extension cords, inspecting flexible cords, and limiting exposure of connectors to moisture; its electrical guidance is a useful baseline even for a small garden shoot. Keep connectors off wet ground, protect cable crossings with proper covers, and remove damaged cords from service rather than taping over the problem.
Battery-powered lights and cameras can reduce cable clutter, but they do not remove the need for planning. Charge everything, label batteries, and keep a power bank or spare battery where the crew can reach it without walking through the frame. If rain is possible, decide in advance which equipment can be covered, which must be moved indoors, and who has authority to pause the shoot.
A practical shoot-day checklist
Use a short technical rehearsal before recording the real content. The rehearsal should test the scene, not just the camera.
- Record a ten-second wide shot and a ten-second close shot.
- Listen to the audio with headphones for traffic, wind, hum, and clothing noise.
- Check the subject’s face while they turn slightly toward and away from the key light.
- Look for reflections in glasses, glossy furniture, windows, and leaves.
- Walk the planned movement while watching the focus and exposure.
- Mark tripod, chair, reflector, and light positions with discreet tape.
- Photograph the completed setup so it can be rebuilt after a break.
Weather planning also includes the people, not just the equipment. The National Weather Service explains that heat index values reflect both temperature and humidity, and that direct sunshine can make conditions feel hotter than a shaded reading suggests. Schedule demanding setup work earlier or later when appropriate, provide shade and water, and build breaks into the call sheet. A tired subject rarely improves a video, even if the light is perfect.
Finally, create a reset plan. Keep a small box just outside the frame for clips, tape, spare batteries, cloths, and lens-cleaning supplies. Return moved furniture and plants to their marks between takes. The difference between a space that looks casually beautiful and one that looks professionally made is often the ability to reproduce it five minutes later.
Make the space disappear into the story
The strongest outdoor set is not the one that gets noticed first. It gives the subject a calm, dimensional place to exist, keeps the crew out of trouble, and remains repeatable when the sun moves or a take has to be done again. Start with one dependable frame, solve light and sound before decoration, and let every visible object earn its place.
That approach produces a space that looks beautiful because it is controlled, not because it is overloaded. The garden remains recognisably itself, but on camera it becomes something more useful: a setting that supports the story from the first take to the last.
Sources: Adobe’s basic lighting tips for video; OSHA guidance on flexible cords; National Weather Service heat-index and outdoor safety guidance.